
Are you finally ready to create your own website this year? Great, in this guide you’ll learn how to make your own WordPress website and we’ll cover it step-by-step with no steps skipped, so you can get it up and running quickly.
Building any website whether it’s your side project, a hobby, your next business venture, or an e-commerce store, it usually requires the same basic steps, so we’ll cover all of those.
Don’t worry though, we’ll explain what each step means as we go along. By the end of this guide even your mom will know how simple it is to create an amazing looking website.
So what is WordPress?
WordPress is an open source content management system (CMS) which is just a fancy way of saying it helps you manage all of your content.
So instead of having to do code and all of this complex stuff, all you have to do is drag in images and type and change around some settings, and you have a website.
WordPress is used by approximately 75 million websites. It’s by far the most popular way to make a website in the entire world.
WordPress is also used by large companies like Sony, UPS, Best Buy, The New York Times and even by celebrities like Jay Z, Katy Perry, you name it.
It’s free to install, deploy and upgrade.
Making a website has never been easier.
What are the basic steps to create a WordPress website?
Let’s go over the 4 basic steps to create your website.
- Setting up hosting
- Getting a domain name
- Installing WordPress
- Creating a website
First, you’ll get a hosting account – this is where your website will live on.
Then you’ll get a domain name – this is the actual name of your site so people can find you.
Next you’ll learn how to install WordPress and lastly, actually create your website.
By following these 4 simple and transparent steps in this guide, you’ll see that you’ve a working website to share with the world in no time.
How much it will cost?
Probably one of the most important questions – how much it’s going to cost?
Hosting – from $3.95/month to $13.95/month (depends on what plan you choose).
Domain name – Free (for Bluehost).
WordPress – Free.
Creating your website – Free, you don’t need to pay anyone to do it. All the tools that we are going to be showing you in this guide to use for building your site will be absolutely free.
So if you’re ready, let’s get started.
1. Setting up hosting
When you’are building a website, it’s very similar to what’s happening when you build a house. You’ve the land that you need to use to put the house on, that’s the same as the hosting provider.
Hosting is a computer that’s on 24 hours a day, 7 days a week. It holds all of your website information.
So which hosting provider to choose?
For beginners, we recommend to choose Bluehost. They’ve good customer service, they’re one of the oldest and most established hosting companies out there, also they’re officially recommended by the WordPress.org themselves.
Now if you wish to choose a different hosting provider, you’re absolutely free to do so. We’ve reviewed the best website hosting companies out there for your new WordPress website in this article.
But if we’d build a new website ourselves and had to pick one hosting provider, we’d go with Bluehost.
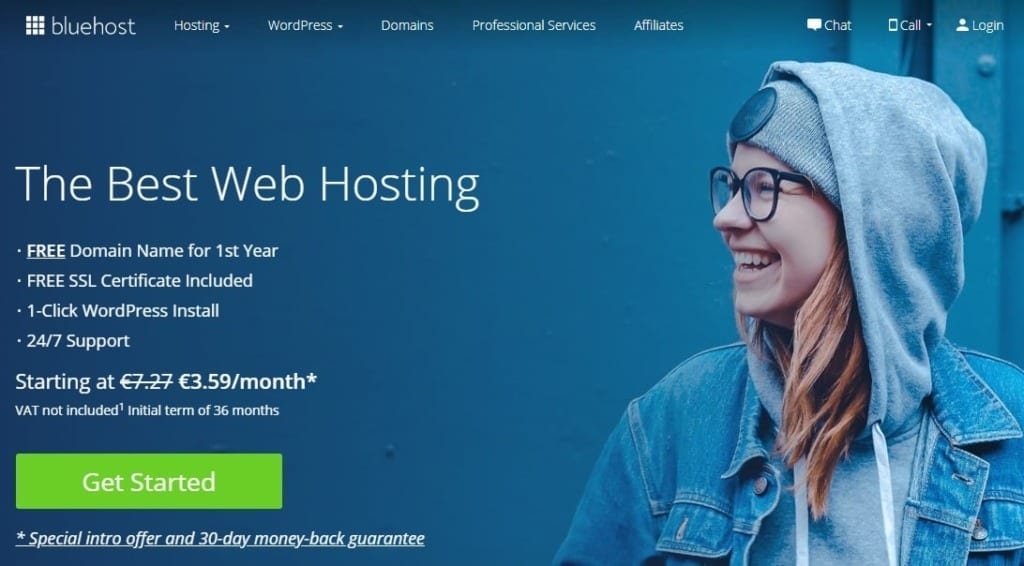
Now after you click here , you’ll be taken to Bluehost home page. Click on the big , green “Get Started” button.
Next it’ll take you to the select your plan page.
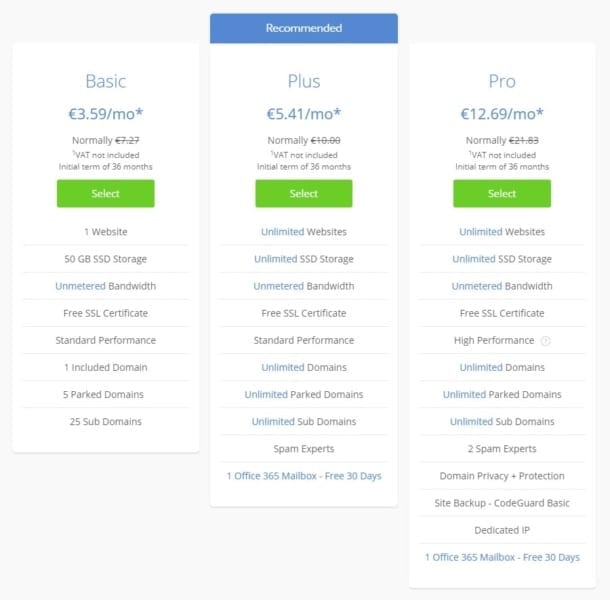
You can choose your plan here. The biggest difference between these plans are as follows. Basic – it really is basic. You’re allowed only one website and a limited SSD storage, whereas with Plus, if you’ve multiple websites that you want to set up down the road with unlimited storage, then this might be the best one for you.
With Plus you’ll have more flexibility in comparison to Basic plan and we’d recommend to choose this plan. Pro is not really necessary for beginners. You can always upgrade later. Go with what you can afford and what makes sense to you.
2. Getting a domain name
After you’ve chosen which setup you want, go ahead and sign up with a new domain name that you want.

Domain name is the same thing as your website name. Google’s domain name is google.com, our domain name is bannertag.com, your domain name can be anything you want and is not taken.
After you choose your domain name, click “Next”.
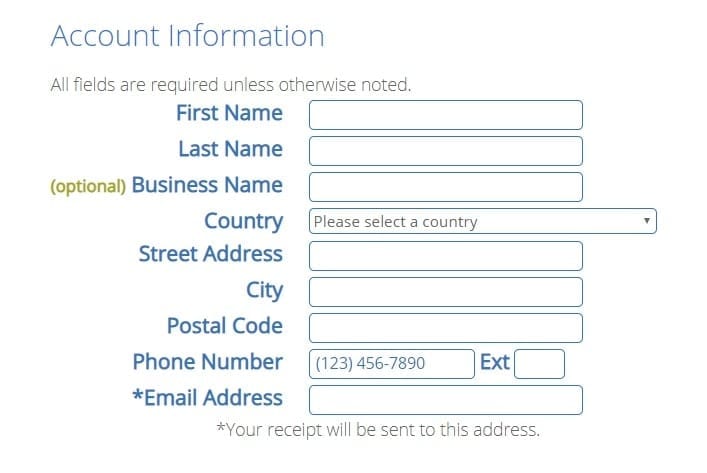
From here you want to go ahead and create your account by filling in all of this information.
And then down here you want to verify the package information.
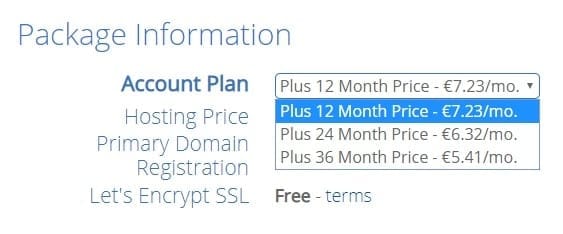
Again, go with what you can afford and what makes sense to you.
We would say that you don’t really need package extras that Bluehost provides. So you can easily deselect these.
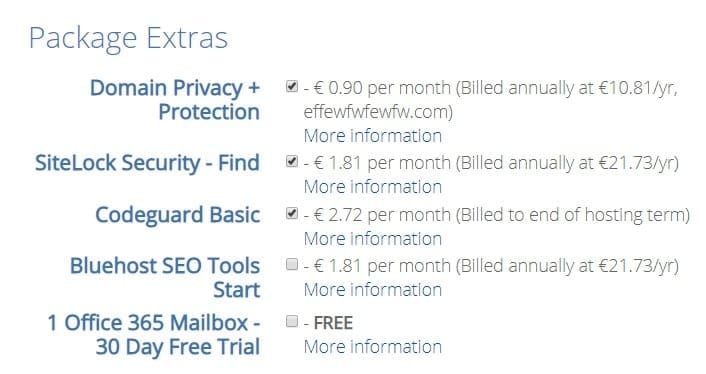
There are a lot of great, free plugins for WordPress to replace these package extras. We’ll talk more about plugins later in this guide.
Now fill in your payment information.
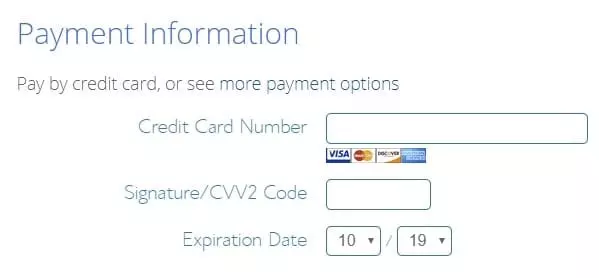
Click that you’ve read and agree with their policies and then click “Submit”. You’ll have your hosting account set.

Now that you’ve signed up, you’ll get a congratulations screen and you just need to click on the next screen where you can create your password.

This password will be used to manage your hosting account. Once you create the password, they’ll start setting up the account for you.
3. Installing WordPress
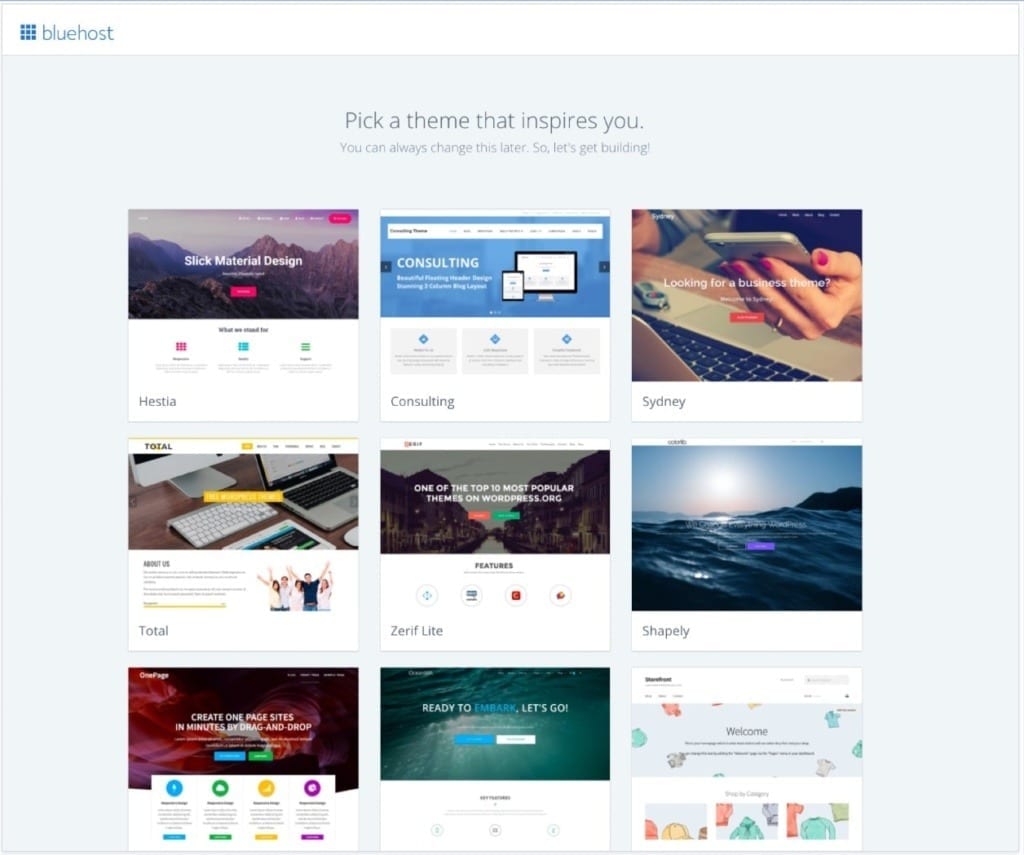
One of the great things about Bluehost is that now they’ve made installing WordPress even easier.
From here you can select a theme that you like to go with your site.
Now that you’ve picked the theme that you like, they’ll automatically set up WordPress for you.
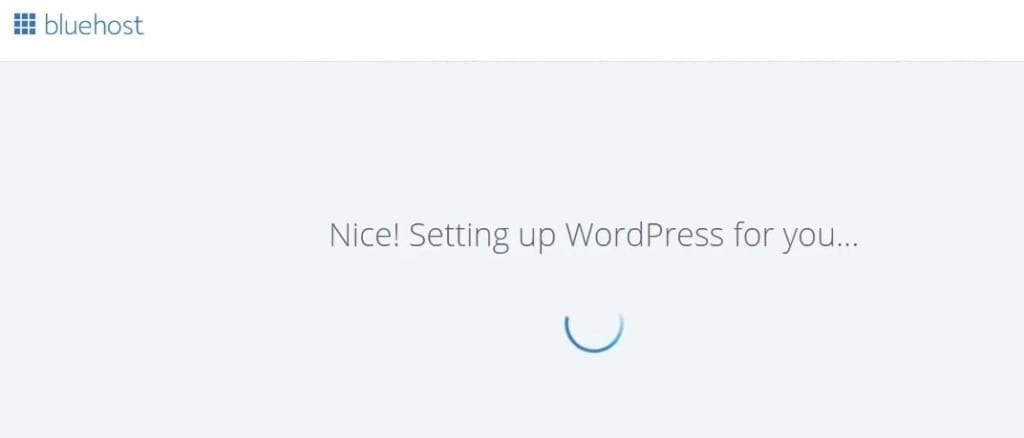
You no longer have to go into your Bluehost account and install WordPress and go through that process.
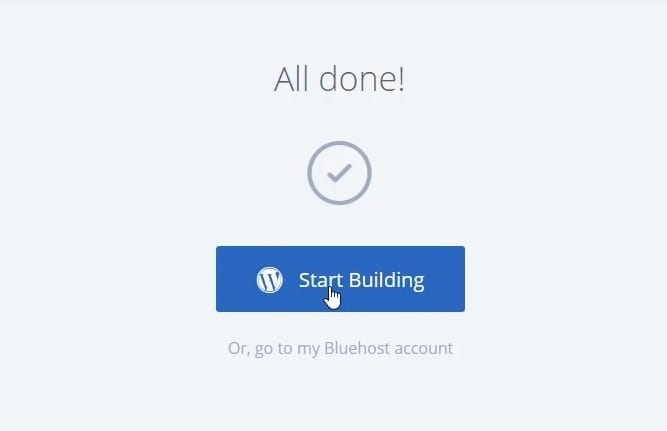
Once you get everything set up, you can click “Start Building” and you’ll be taken to the backend of your WordPress dashboard where you can start customizing it.
Also important to mention. To log into WordPress you don’t have to go through Bluehost or through your email every single time, this was only when you installed WordPress through Bluehost.
From now on, all you have to do to log into your WordPress is go to your website and add forward slash at the end of your domain name and type wp-admin. Example: yourwebsite.com/wp-admin
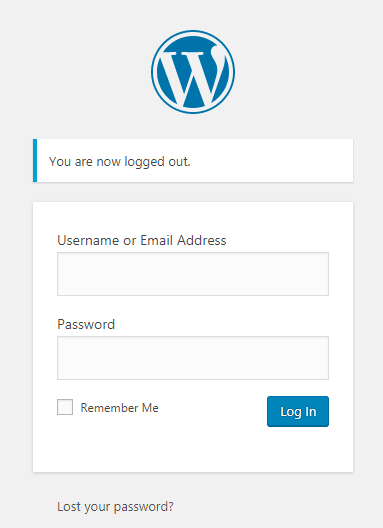
This login page will pop up. Just type in your username or email address and password.
So far, so good?
Great, now that WordPress is installed and you are logged in, let’s take a quick look around.
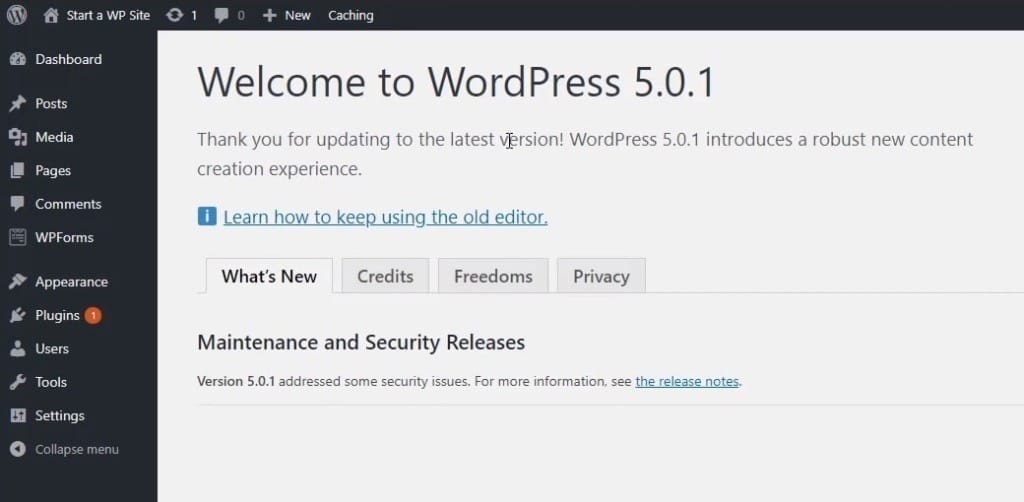
First, this is the admin area or your dashboard. You’ll use a lot of this area on the left.

The posts are if you are writing a blog, these will be your chronological date and timestamped posts that you can create.
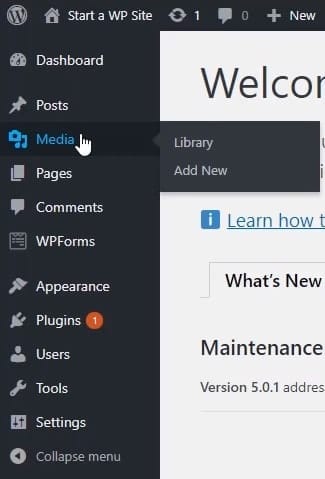
The media is where you’ll add all your images for your website.
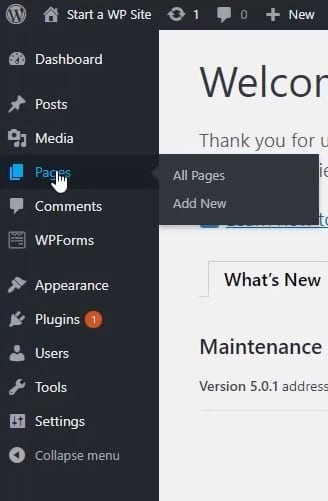
The pages are the more static, like your About page, things that don’t ever change and shouldn’t have a timestamp on them.
This is where all these pages will go and then, depending on the way what your setup is, if you’ve plugins you’ll see some of them here.
And then others you may see under tools or settings, but we’ll get to that later.
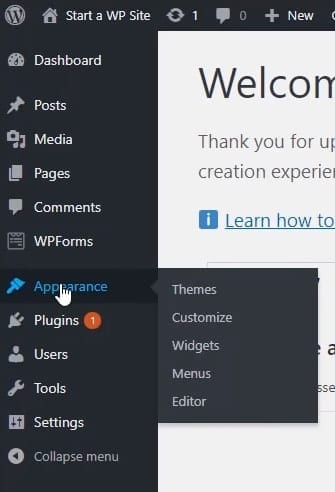
The appearance is where you go to set up the look and feel of your website and we’ll touch base with that soon.
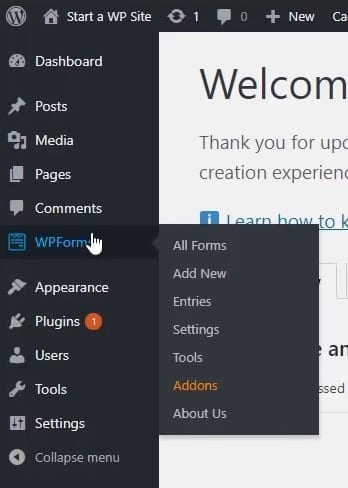
The plugins are the little apps or the little features that extend the functionality or make your website do things that it can’t do right now.
Plugins are one of the most powerful features of WordPress, because practically anything that you can think that you want your website to do, there is a plugin that you can install to get that functionality for your website.
Change your password
First thing we are going to do now is change your password. You don’t need to remember that really long, funky password that’s hard to remember and was automatically created when you installed WordPress.

You want to change it to your own password. All you have to do is click on Users and Edit.
Scroll down and click on Generate Password.
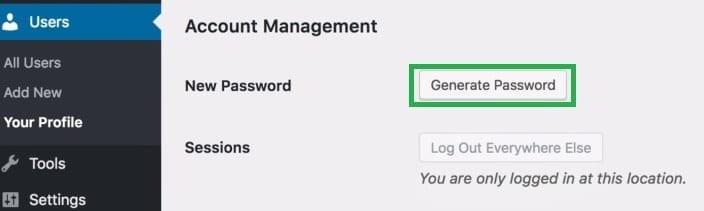
Then change to password that only you know and that’s easy for you to remember.
Delete all pre-installed plugins
The next thing we are going to do is delete all of the plugins that automatically installed when you installed WordPress through Bluehost.
What are the plugins again?
Plugins help you extend the functionality of WordPress and what that basically means is that WordPress doesn’t come with everything. It doesn’t come, for example, with a really cool contact form or a really cool way to edit the website.
One of the best things about WordPress is that anyone can build things for WordPress, so people build all of these different things and you can add them on.
It’s like by default your house doesn’t have a refrigerator, but you buy it and now your house can chill food. By default your house doesn’t have a TV, but you get one and now you can be entertained with movies.
That’s the same idea with a plugin. WordPress can’t do everything, but you can install these free plugins and now you could do a whole bunch more cool things.
Sometimes, in order for the hosting companies to offer you such a good deal, they’ll make partnerships with plugin developers and it’s plugins that you don’t really need.
We are not going to be mad at the hosting companies for doing this, they’re offering everyone a very good deal on hosting, but you don’t need all of these unnecessary, pre-installed plugins.
We’ll show you how to delete all the plugins that you don’t need.
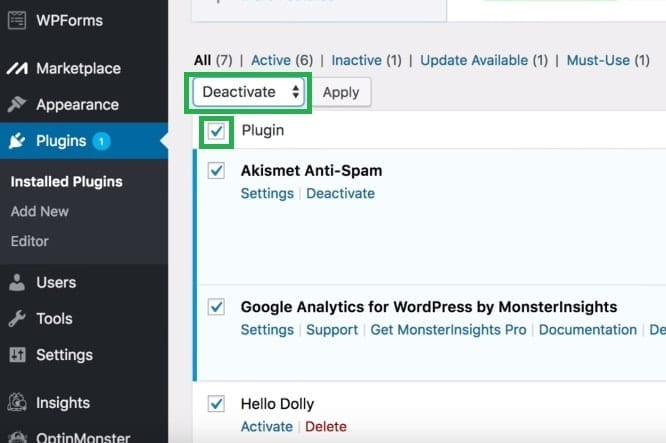
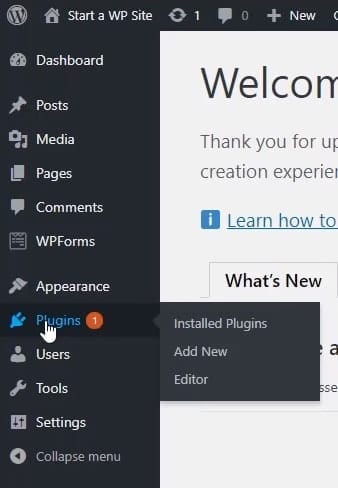
To do that click on Plugins. Then you can scroll down and check off the Plugin box. That will make all of the plugins selected, then from the drop-down choose Deactivate and Apply.
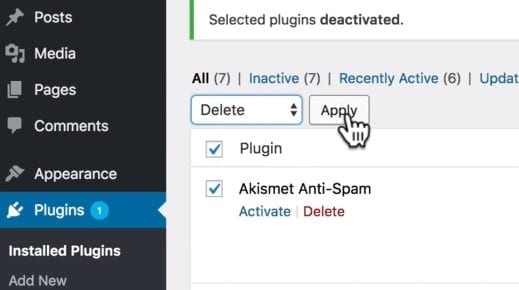
Now check off the Plugin box again. From drop-down choose Delete and Apply. This will delete them all, one by one.
Now your website is clean and you don’t have all these plugins advertising things to you.
Delete all pre-installed pages
Same story goes with pages. You don’t really need the pre-installed pages. We’ll import our own pages.
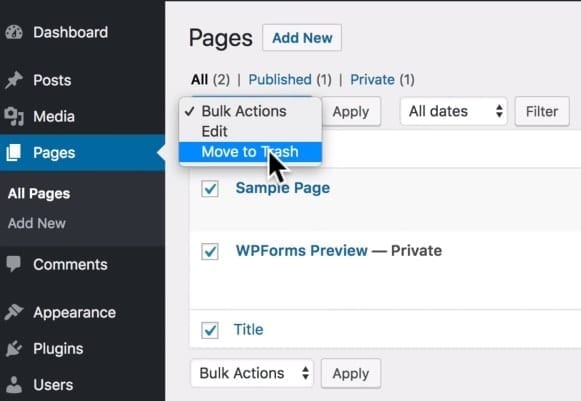
So to delete them click on Pages, select them all, click Move to Trash and Apply.
Nice. Now you’ve a clean website with no unnecessary plugins and pages.
Change permalinks
Next we’re going to change something called permalinks.
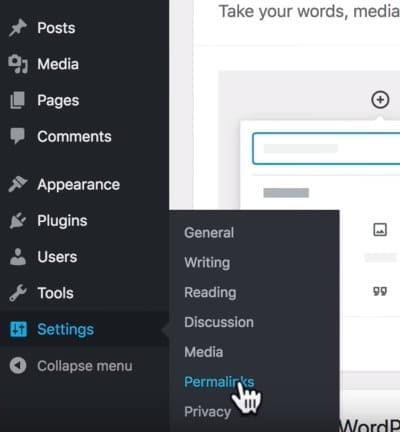
Hover over Settings and click on Permalinks.
Under the Custom Structure it has this crazy way of displaying your URL. We just want it to be simple. So we’are just going to click in Post name.
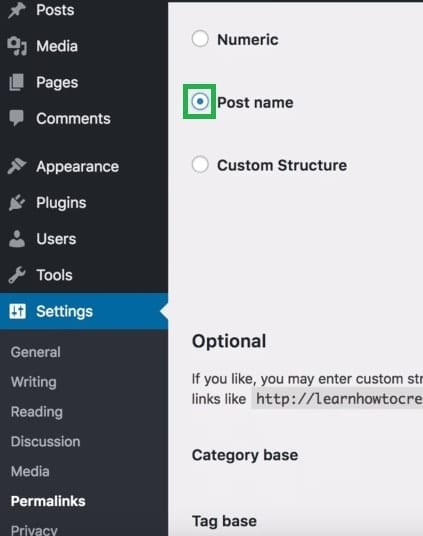
Scroll down and Save Changes. This will make your links look more appealing for your website visitors, for Google and for yourself.
Themes
Technically your website is actually already online and functioning.
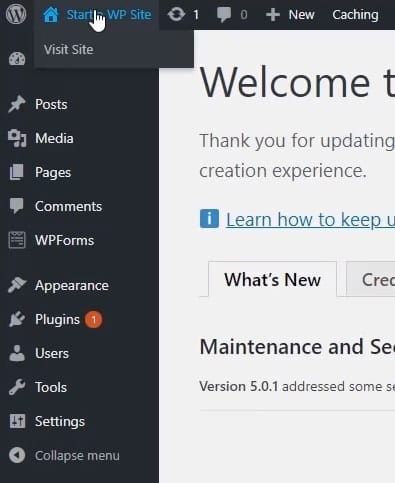
You can go up here and right click on Visit Site. Click Open link in new tab to see it in action.
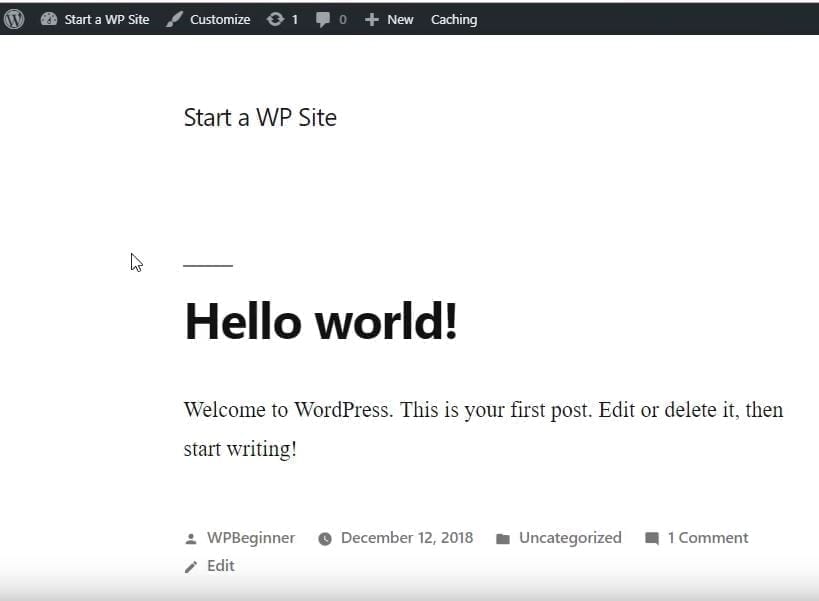
If you notice the website looks very simple with a lot of white space and nothing much going on. This functionality is set up by the theme. The theme is what controls the look and feel of your site.
So this is your website as it is now and we’ll be making some changes to it.
Let’s close this tab and head back to your WordPress dashboard.
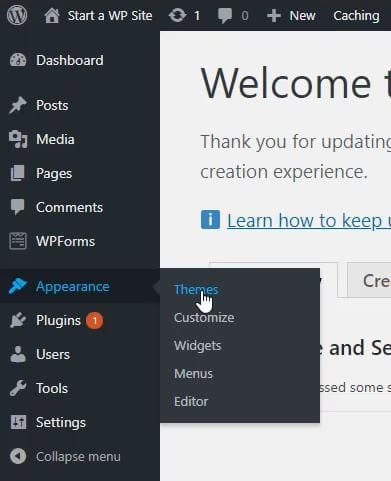
Click on Appearance – Themes, to see what’s going on.
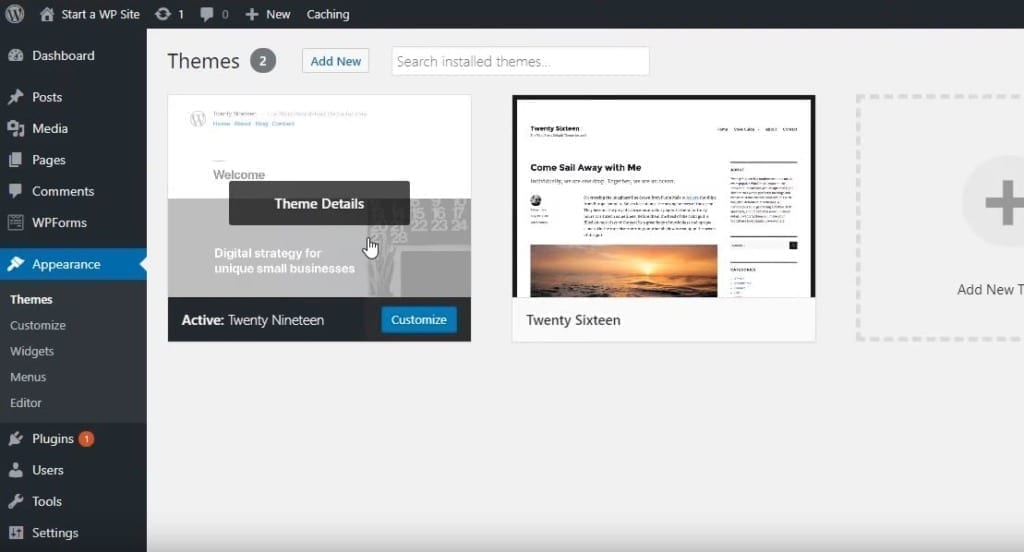
So this is our current theme. You’ll probably have a different one, but we want to show you what this looks like.
If you’ve multiple themes, then you’ll see all of them under Appearance – Themes, as well.
Now like we mentioned, the theme covers the look and feel of your site and you can add anything from a free theme all the way up to a premium or paid for theme.
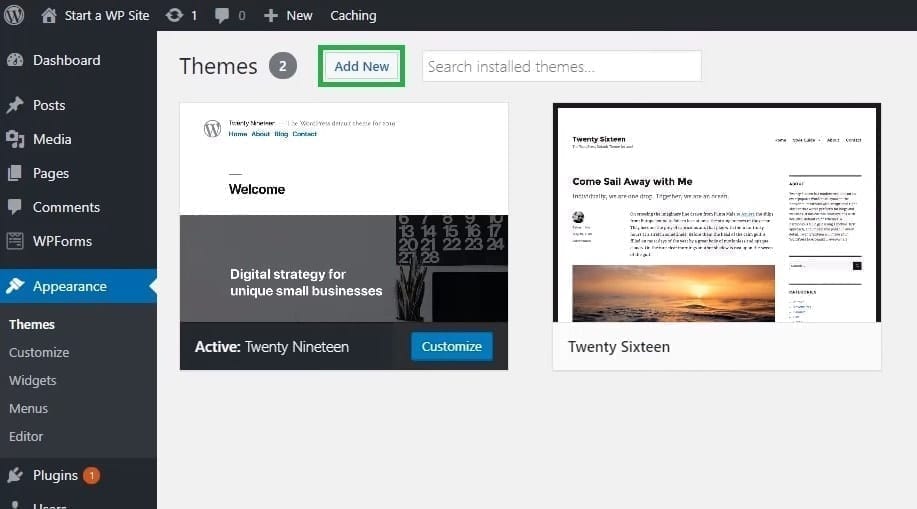
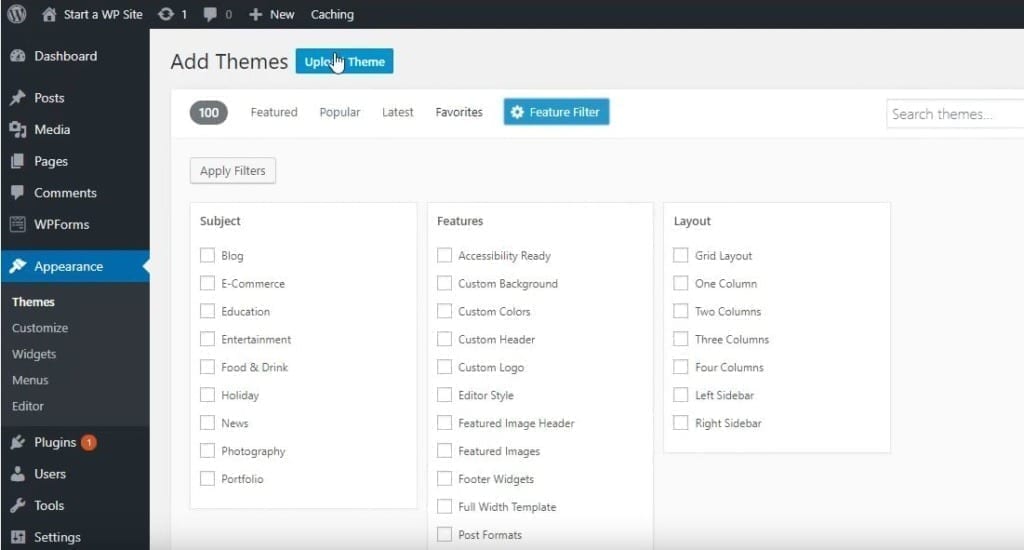
To do that, most of the themes can be found here where you can click Add New.
What this does is it pulls in all of the themes that are approved and tested by WordPress.org to make sure that they work properly.
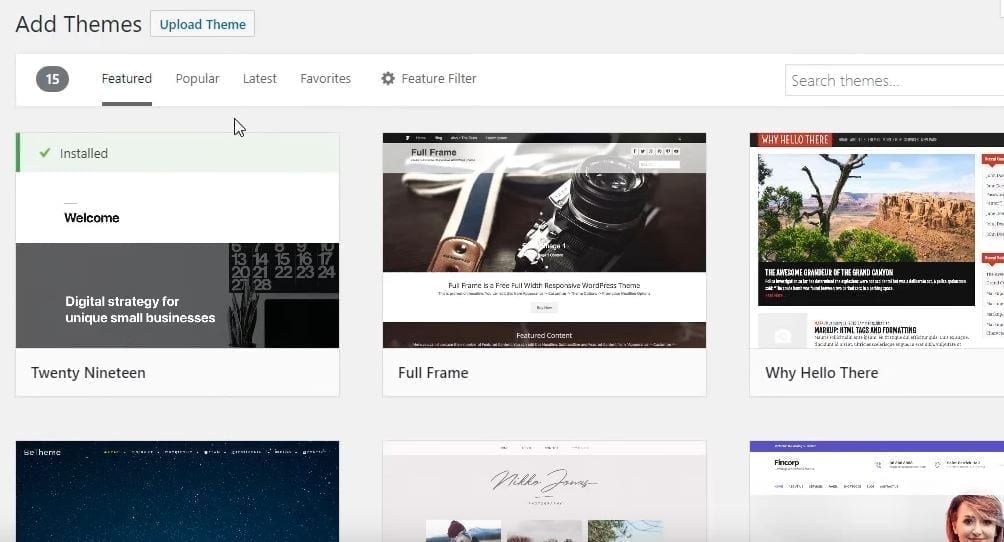
So you could go through here and spend hours and hours searching for the right theme for your website.
The Featured one are the ones that they are showing and are featuring for you.
You can click on Popular to see the most downloaded themes out there.
You can view the Latest ones that have been uploaded and approved on the theme repository.
If you created Favorites then you could click on that.
One of the best things you can do is Feature Filter, if you know the general look and feel that you want your website to have then you can go through and select filters for that.
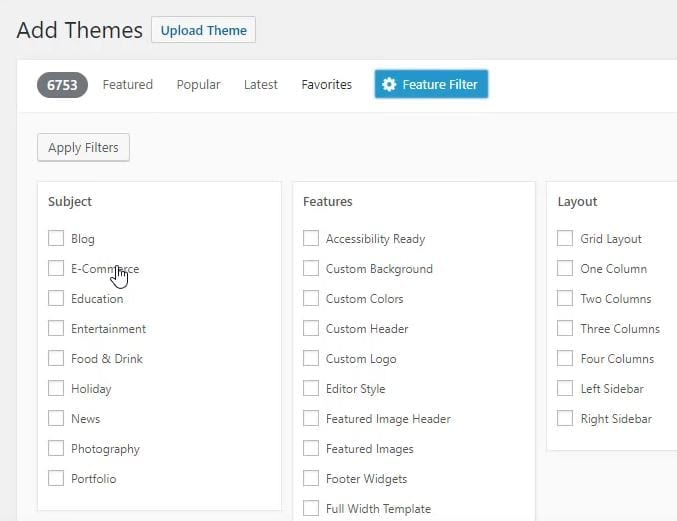
For instance, if you are creating a website for your photography business or your restaurant, if you are building up an e-commerce website then you can go through here and select those items.
If you know the features for your website then you can select them here.
If you know the layout that you want, you can select that as well. A lot of mobile friendly layouts now have just one column.
If you’ve purchased a premium theme then you can upload that here and the documentation from that premium theme.
Chances are at some point you’ll want to start monetize your site, either with ads or some other way. We’ve reviewed 7 best themes that are optimized to earn the most money from the ads. You can install one of them if you like.
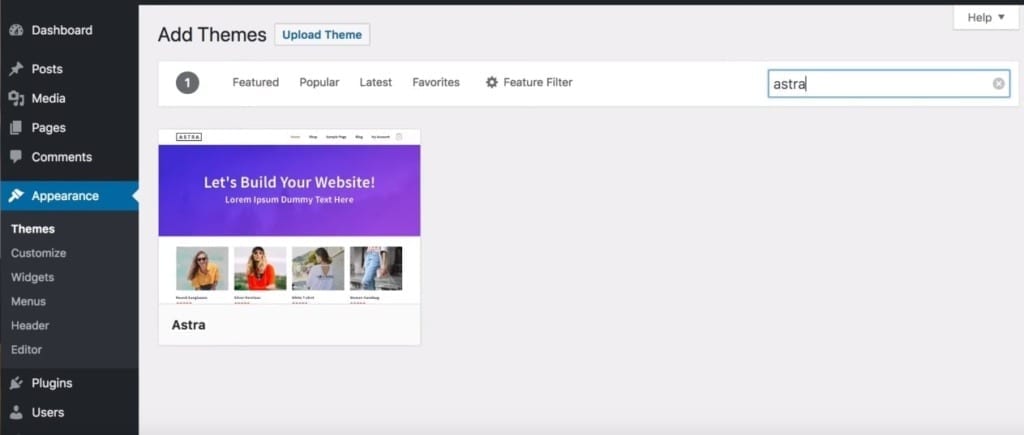
For demonstration purposes we’ll be using a theme called Astra. It’ll be easier for you to follow the next step if you install the same theme, but feel free to explore and install any theme that you prefer.
Type in the search Astra and the theme should appear.
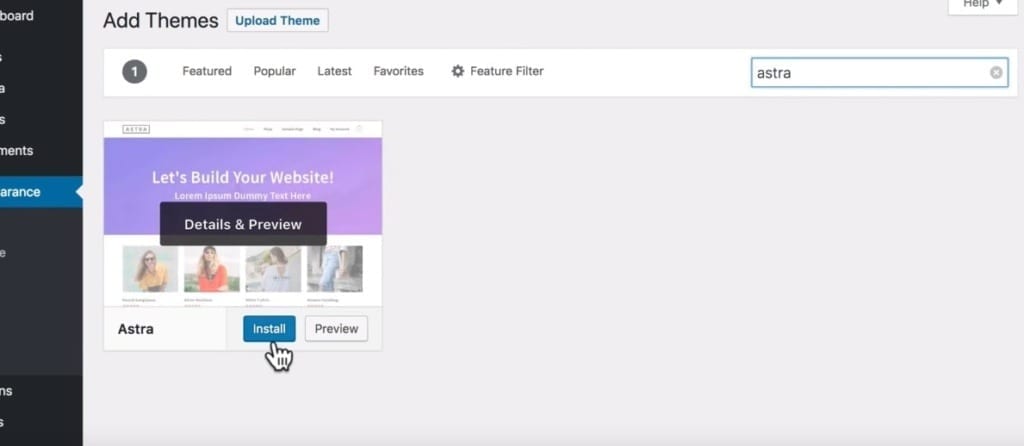
Hover over the theme and click Install.
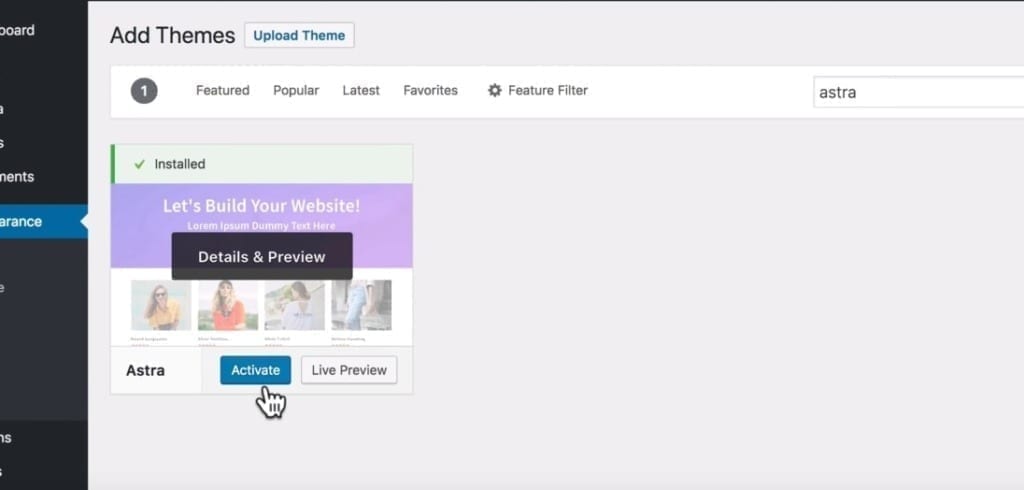
And then click Activate.
Congrats! Now you have a new theme. Easy right?
4. Creating your website
You’ve installed and activated a theme. Good. Now let’s make your new website look great.
What we’re going to do now is install a plugin that allows you to import an entire website in one click and have it completed and completely done.
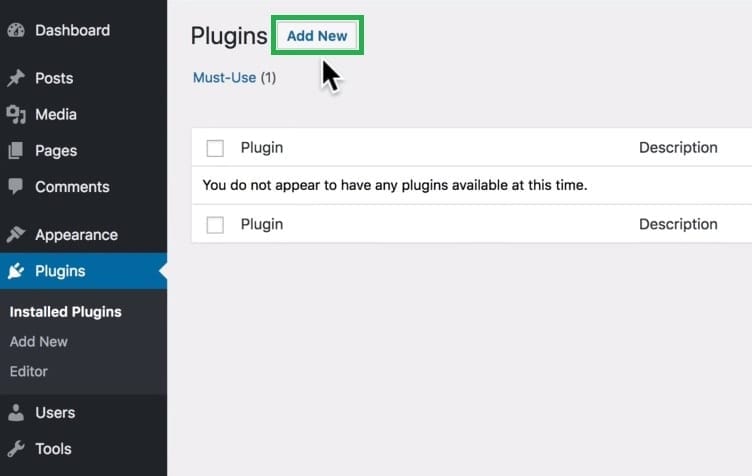
So to do that, let’s click on Plugins and then click Add New.
Now we can search for plugin called Astra Starter Sites.
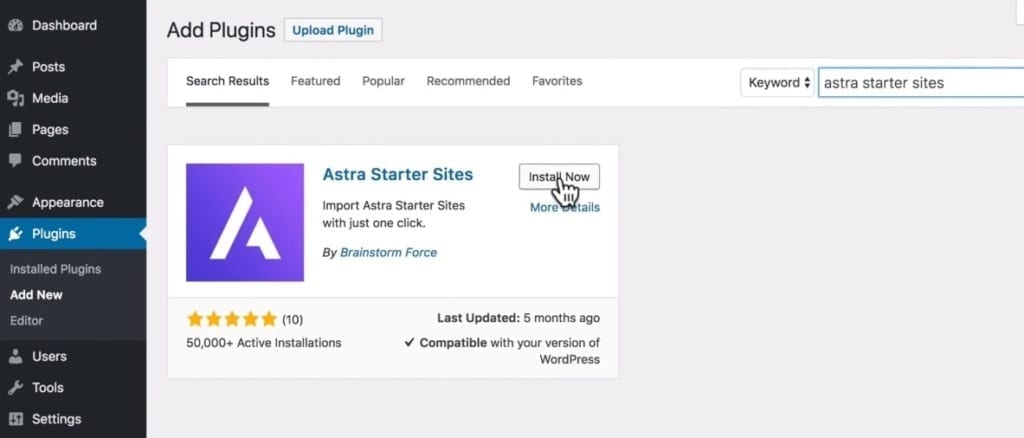
Then click on Install Now and wait for it to install. Then click on Activate.
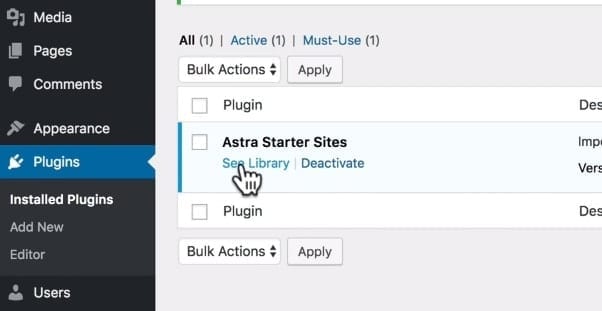
Next click on See Library.
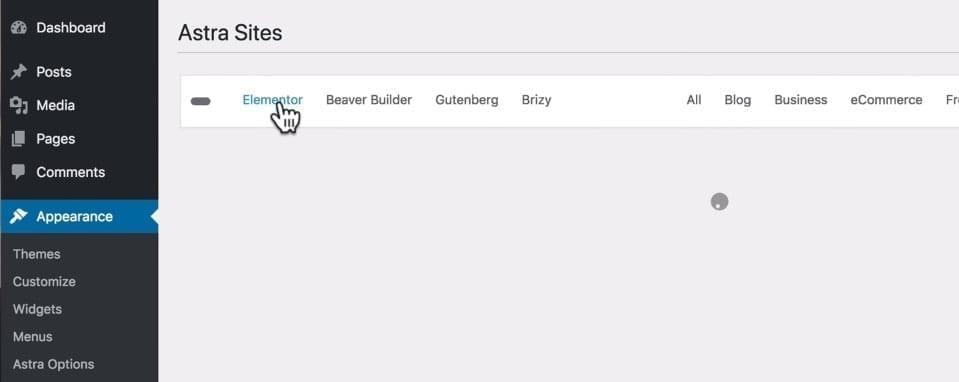
We’re going to be using the Elementor page builder. So just click on Elementor.
Now we can see all of these different sites that we can import in one click as our starting point.
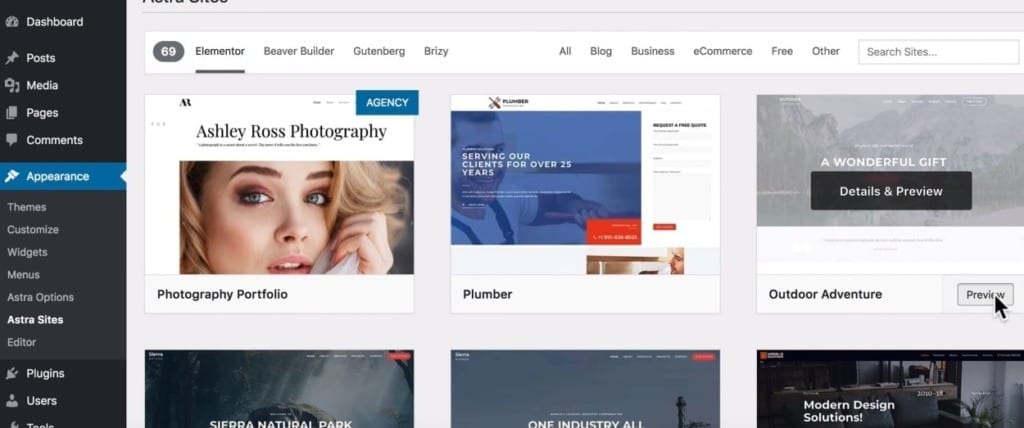
One of our favorites is Outdoor Adventure. Let’s click Preview.
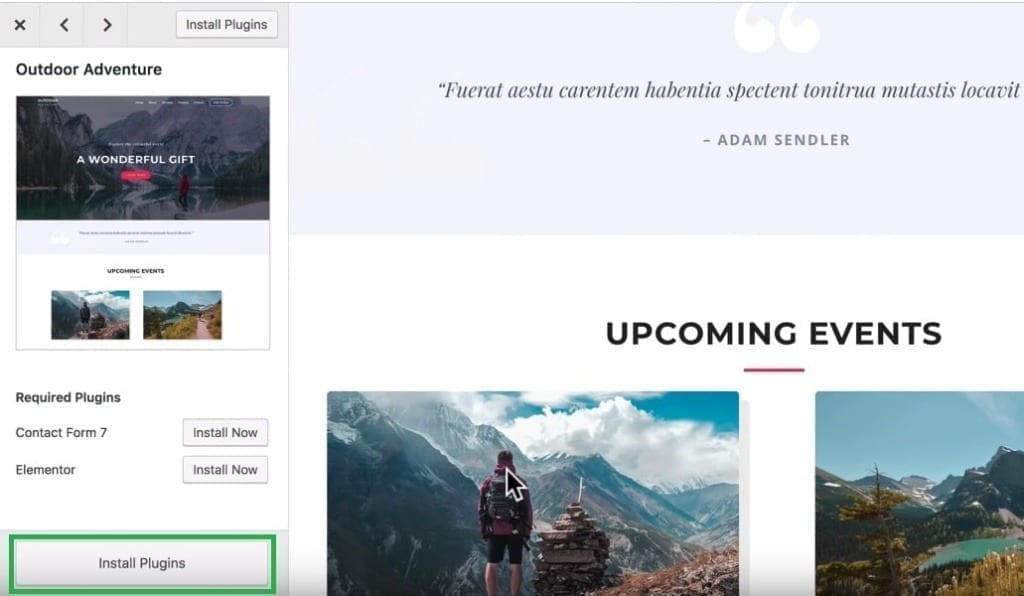
Then click Install Plugins. This is going to install all the things we need to build the site.
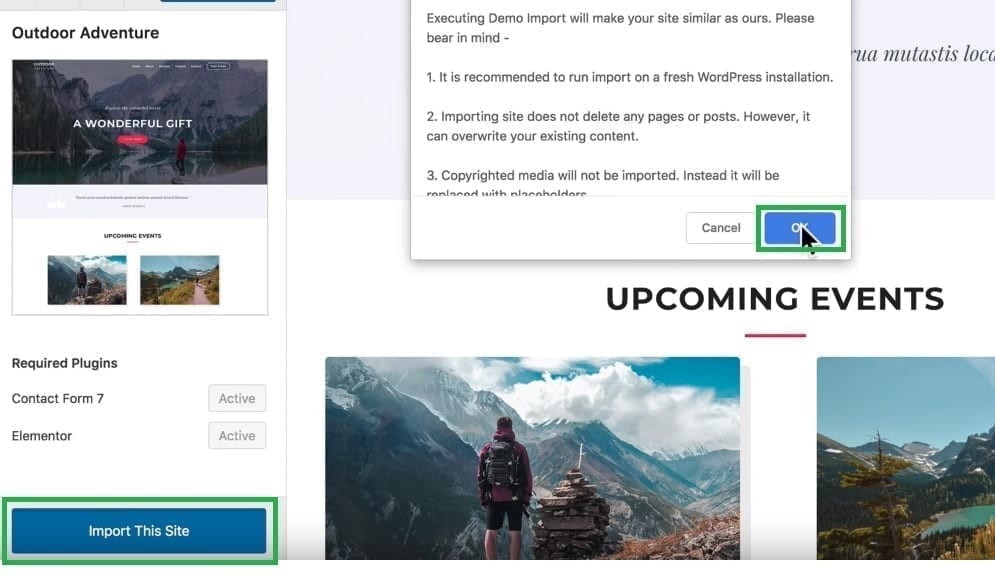
Next click Import This Site and OK. It might take about 20 seconds for it to complete.
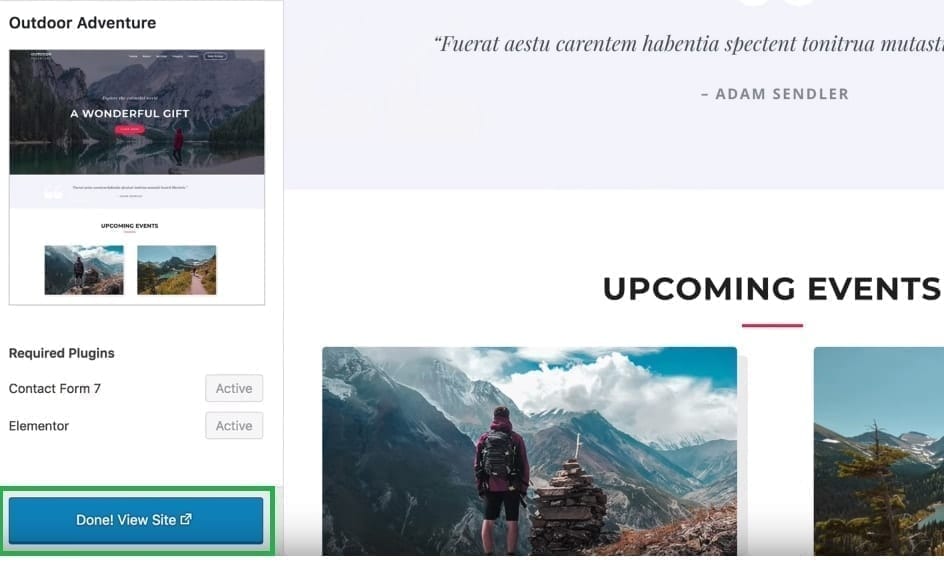
Once it’s finished all you have to do is click Done! View Site.
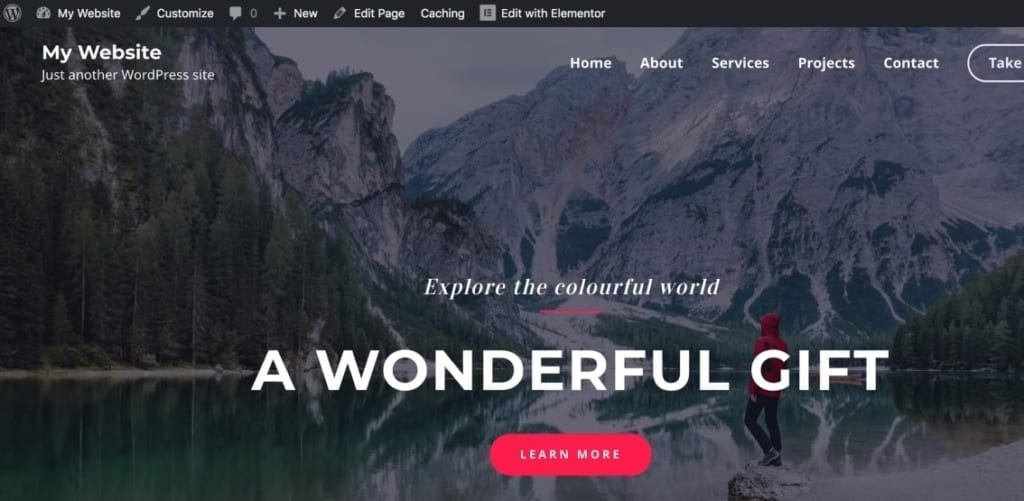
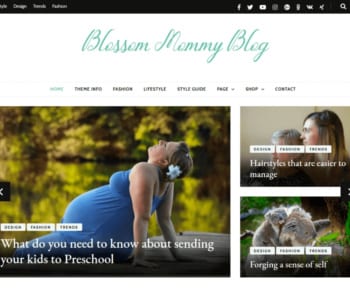
Now you’ve a beautiful, amazing looking website with all of the pages imported.
Let’s start editing the website
Remember, you can change anything on this site. And that’s what we’re going to do right now.
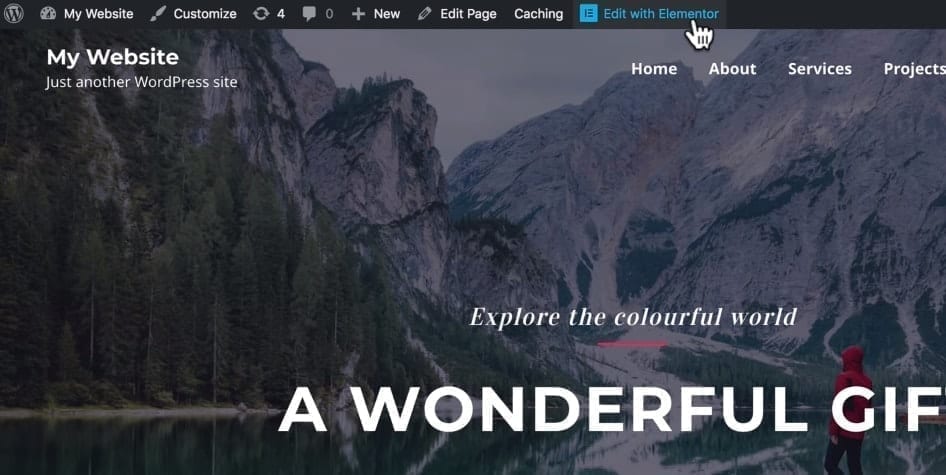
Up there you can click on Edit with Elementor. Once you do that you can edit anything in here and make it look like any website that you like.
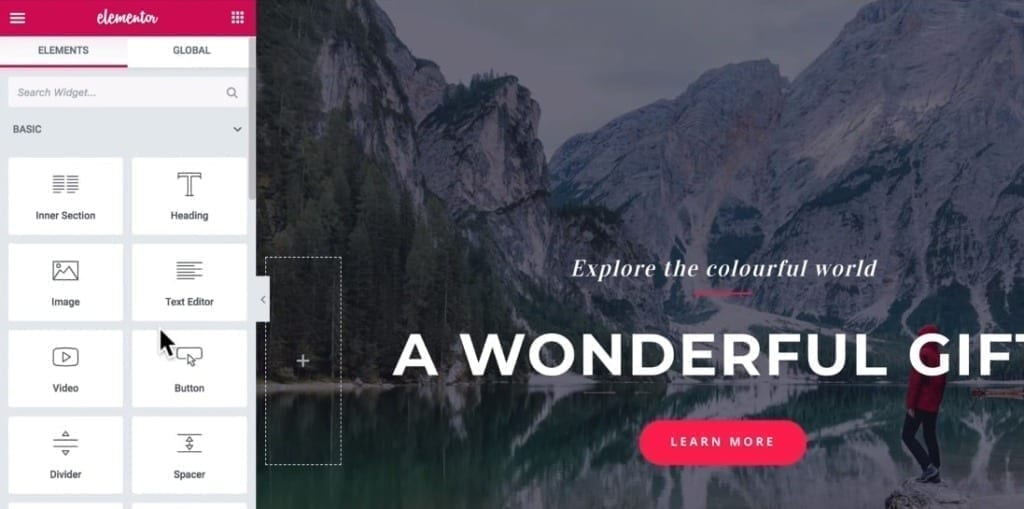
On the left side we’ve all of these different widgets. You can drag any of them onto your website. You can add things like text, images, your own videos, music, many clickable buttons, maps and many other things that you would like to have on your website.
Basically, you can make your website appear like any other website or any website from your imagination. Really, imagination is your only limit here.
Once you’ve added any of the widgets that you want, you’re going to want to change it so that it has your content and not the default content.
To do that all you’ve to do is click on any parts of your website and put in your own content. Imagine what this would take without the WordPress and this editor? Months or years of coding skills!
But now you can simply drag and drop, edit and see the changes happening on your website right before your eyes and you don’t have to be a programmer and know a single line of code. Isn’t this amazing?
Feel free to experiment with all of these tools to see what works for you. And don’t forget to edit every page that you have.
That’s very much it, just play around and see what happens.
So what have we learned?
First we chose a hosting where your new website will live from now on. Next you chose a new domain name for your website. Then we installed WordPress. After that we installed a theme and imported an already ready looking website.
Great!
We showed you all the steps and now it’s up to you to add the content and make your website look the way you want it to look.
There are plenty of people out there that charge few hundred dollars for creating a simple WordPress website like you just created.
Instead of paying someone, you’ve now a beautiful looking website that you’ve created and it’ll cost you no more than few bucks a month, instead of hundreds or thousands, plus you’ve a full control over it!
We hope that this guide was useful to you and that all the steps covered were easy to understand and implement.